Plinqx Publisher Custom Permissions
Available: Base
Overview
Plinqx Publisher Custom Permissions allow you to control access to specific Plinqx capabilities using Salesforce's permission model. Custom permissions can be referenced by Apex/Flow to enable or restrict features, and are typically granted to users via Permission Sets (recommended) or Profiles.
This guide covers how to:
- View existing Plinqx custom permissions
- Create a new custom permission in Plinqx Publisher
- Assign a custom permission to users via a Permission Set
Prerequisites
- Plinqx package installed in the Salesforce org
- You have access to the Plinqx app and the Publisher tab
- To assign permissions, you must have permission to manage Permission Sets (typically System Administrator)
Where to find Custom Permissions (Plinqx)
- Open the Plinqx app.
- Click Publisher.
- Go to Events and Endpoints (Custom Permissions).
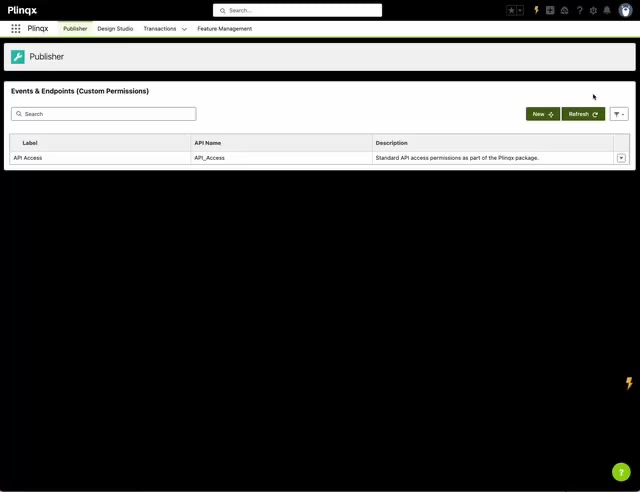
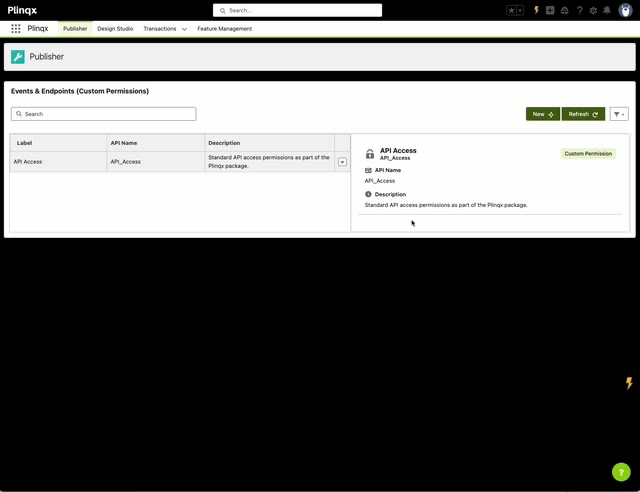
View an existing Custom Permission
- From Events and Endpoints (Custom Permissions), locate the permission you want to review.
- Click the row to open the detail panel.
- Review:
- Label
- API Name
- Description
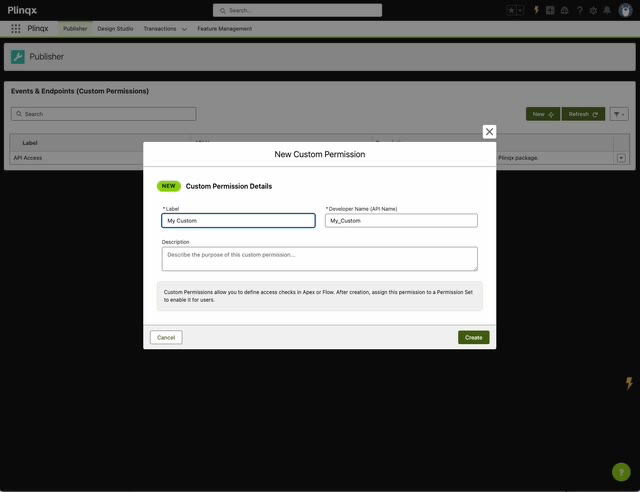
Create a new Custom Permission
- From Events and Endpoints (Custom Permissions), click New.
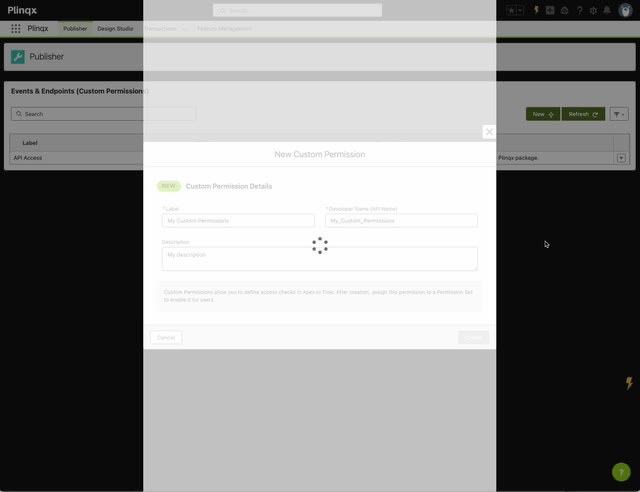
- In New Custom Permission, complete the fields:
- Label: Human-readable name (e.g., API Access)
- Developer Name (API Name): System name (e.g., API_Access)
- Description: Explain what the permission enables
- Click Create.
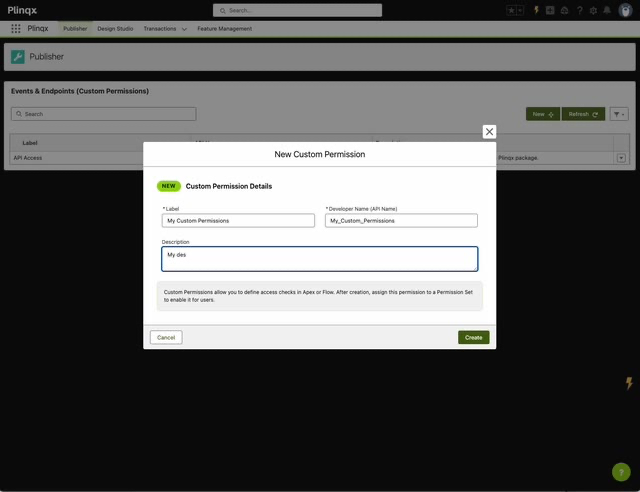
Example of a completed form:
While the permission is being created, you may briefly see a loading indicator:
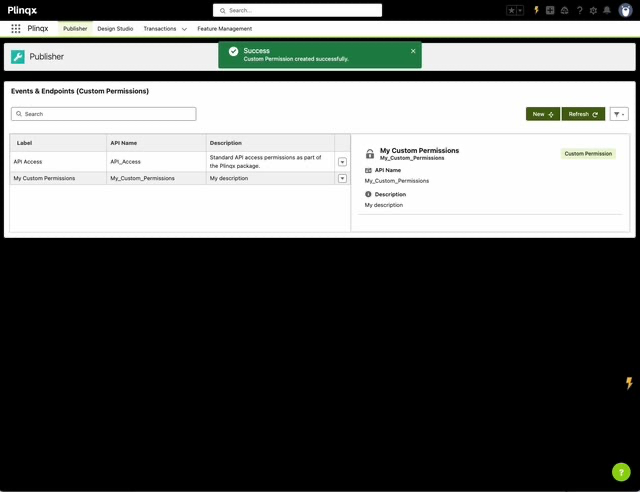
After creation, a success message appears and the new permission is shown in the list:
Refresh and search
- Use Refresh to reload the list after changes.
- Use the Search box to quickly filter permissions by label or API name.
Assign a Custom Permission to users (recommended: Permission Set)
After creating a custom permission, users will not receive it automatically. Grant it via a Permission Set:
- Go to Setup -> Permission Sets.
- Open an existing Permission Set (or create a new one).
- In the Permission Set, search for Custom Permissions.
- Click Edit.
- Add the required Plinqx custom permission(s) and Save.
- Assign the Permission Set to the relevant users.
Tip: Prefer Permission Sets over Profiles so you can grant Plinqx capabilities in a modular way without changing baseline profile access.
Troubleshooting
I created a permission but it doesn't appear
- Click Refresh on the Custom Permissions page.
- Confirm you have access to the relevant Plinqx Publisher page.
Users still can't access the feature
- Confirm the custom permission is added to the user's Permission Set.
- Confirm the user is assigned the Permission Set.
- If the feature is gated by additional permissions (e.g., object access, Apex class access), verify those as well.
Appendix: Naming guidelines (recommended)
- Label: Use clear, business-friendly names (e.g., Outbound API: Execute).
- API Name: Use consistent prefixes and underscores (e.g.,
Outbound_API_Execute). - Description: State the intent: "Allows users to execute outbound API calls via Plinqx Publisher."